How to Use HoneyBook for Beginners
Are you struggle getting started with HoneyBook? This blog post shows your how to use HoneyBook to manage your clients effectively!
Are you a new user of HoneyBook and feeling slightly overwhelmed by its multitude of features? Don’t worry, you’re not alone. HoneyBook is an incredibly powerful project management tool designed to streamline your business management tasks. But like any robust platform, it can seem complicated at first glance.
That’s why we’ve created this beginner’s guide to using HoneyBook. We’ll walk you through the basics and show you how easy it is to get started. With a HoneyBook account, you can automate your business processes, manage clients and projects efficiently, and even handle payments – all in one place.
If you are still deciding whether to get HoneyBook, check out our Honeybook Review.
If you purchase through our partner links, we get paid for the referral at no additional cost to you! For more information, visit my disclosure page.
Imagine never having to jump between multiple platforms again. No more manually tracking payments or forgetting about important tasks. With HoneyBook, you can focus on what you do best and leave the administrative work to us.
Ready to simplify your business management and boost productivity? Read on to learn how to use HoneyBook effectively, even if you’re a complete beginner. Get ready to transform the way you run your business!
What is HoneyBook?
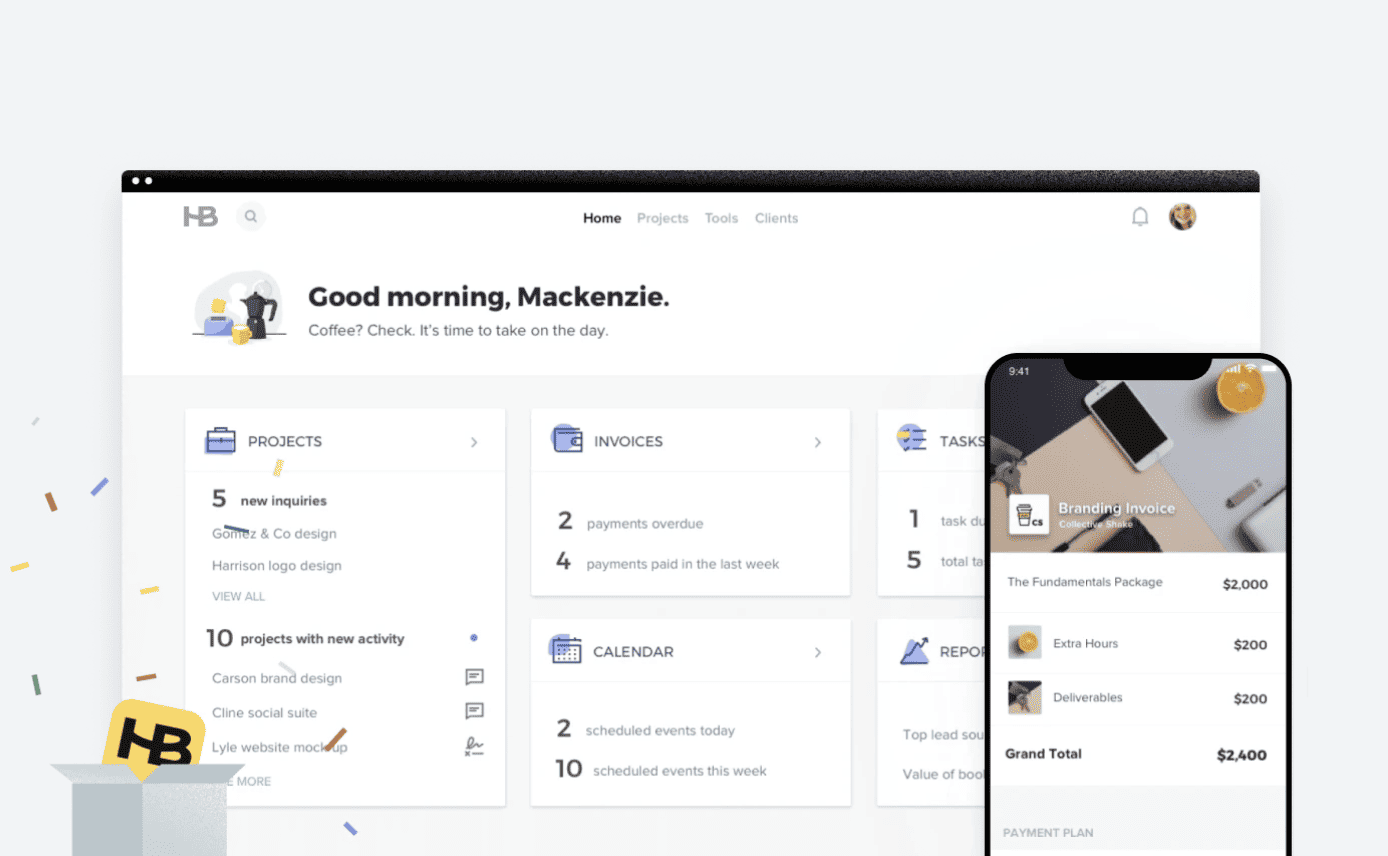
HoneyBook is a comprehensive business management platform designed for creative entrepreneurs. It’s an all-in-one software that allows you to manage projects, book clients, send invoices, and get paid—all in one place. It streamlines the administrative side of running a business, giving you more time to focus on your craft.
Why You Need to Know How to Use HoneyBook Well
In the fast-paced world of entrepreneurship, efficiency is key. The ability to manage your business processes in a streamlined, organized manner can significantly impact your success. This is where learning how to use HoneyBook comes into play.
- Time-saving: HoneyBook workflow automation includes administrative tasks, saving you precious time.
- Organization: It keeps all your client interactions, projects, and invoices in one place, making it easier to stay organized.
- Professionalism: With its sleek interface and customizable templates, HoneyBook helps you present a professional image to your clients.
- Payment Ease: HoneyBook simplifies the payment process, making it easy for clients to pay you quickly and securely.
Learning how to use HoneyBook can be a game-changer for your business. Our step-by-step guide will help you navigate this powerful tool, ensuring that you harness its full potential to streamline your operations and boost your productivity.
Getting Started with How to Use HoneyBook
Navigating a new software can be daunting, but our process for using HoneyBook is designed to be straightforward and user-friendly. HoneyBook is an all-in-one business management tool that helps entrepreneurs manage projects, book clients, send invoices, and get paid.
- Sign Up and Set Up Your HoneyBook Account
- Import Client Details
- Create Your First Project
- Customize Your Company Settings, Services, and Pricing Guide
- Send Proposals, Sign Contracts Online, and Invoices Using Smart Files
- Manage Client Communication
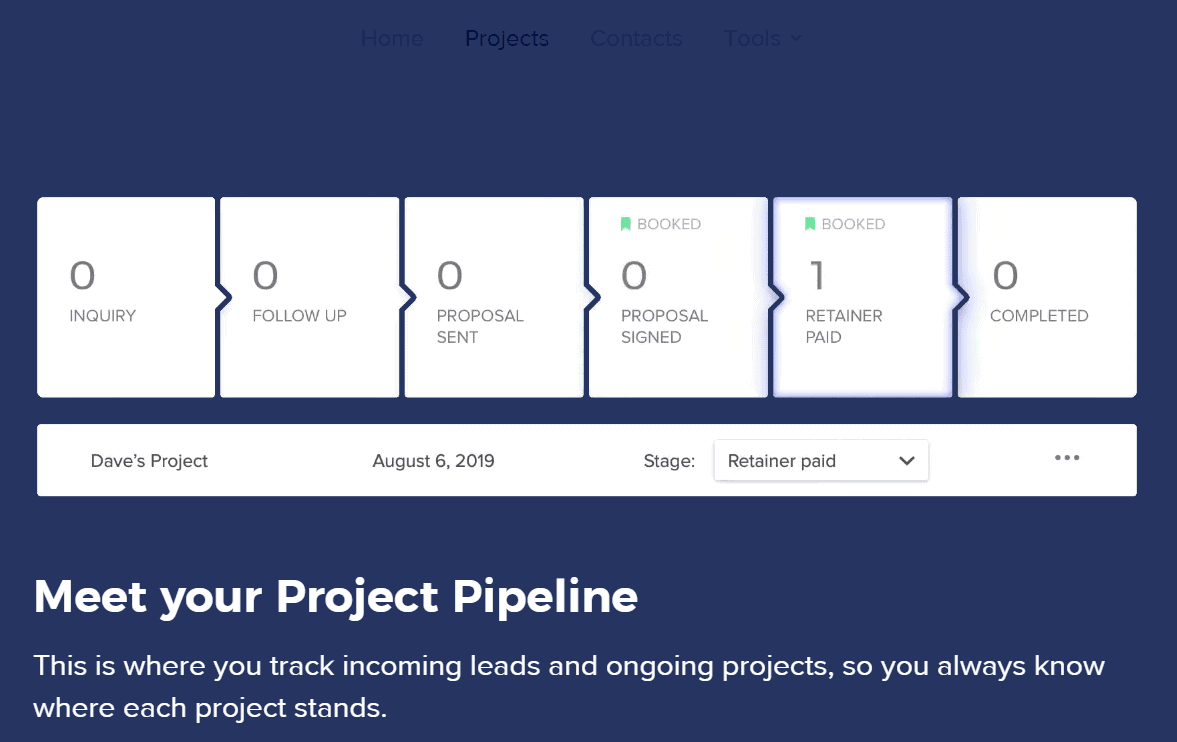
- Track the Progress of Your Projects
- Set Up Automations
- Review Your Business Performance
In the following sections, we’ll delve deeper into these steps, guiding you through each one to make your HoneyBook experience as smooth as possible. Let’s get started!
Sign Up and Set Up Your HoneyBook Account
To start using HoneyBook, visit the website and click on ‘Get Started’ to sign up. You’ll need to provide some basic information about your business, including your name, email address, and industry.
Once you’ve signed up, take some time to customize your account settings, such as setting up your payment and branding preferences. Make sure to add your logo and brand colors to give your workspace a personal touch. Also, set your preferred payment method and currency to ensure smooth transactions with your clients.
Import Client Details
Navigate to the ‘Contacts’ section and import the details of your potential clients from your previous system or manually add new and current clients. Importing the contact forms helps keep all your client information in smart files for easy access.
This step will save you time in the future when you need to attach clients to specific projects, create a list of accounts receivables, or send out bulk communications. It’s also an excellent opportunity to clean your contact list and ensure all the information is up-to-date and accurate.
Create Your First Project
Once your account is set up, you can create your first project. Click on the ‘Projects’ tab in the main menu, then select ‘New Project’. Here, you can add all the relevant details about the project, such as the client’s name, project type, and expected completion date.
Remember to save your changes before moving on. You can also attach files, add notes, and assign team members to the project at this stage. It’s crucial to be as detailed as possible to ensure everyone involved understands the project scope and deliverables.
Customize Your Company Settings, Services, and Pricing Guide
HoneyBook allows you to customize your service offerings and pricing structures. Use the ‘Templates’ feature to create these, making it easier to generate proposals and invoices later.
You can customize your templates with detailed descriptions, images, and terms and conditions. The pricing structure can be set as fixed price, hourly rate, or customized according to each project’s needs. This flexibility allows you to cater to a variety of clients and project types.
Send Files and Proposals, Sign Contracts Online, and Invoices Using Smart Files
With a project created, you can now send proposals and invoices to your clients. Navigate to the ‘Files’ section within your project and select ‘New File’ to create a proposal or invoice. Fill out the necessary details and hit ‘Send’ when you’re ready.
HoneyBook also allows you to create and send contracts online. Your clients can sign these contracts electronically, speeding up the agreement process and ensuring all parties have a copy of the signed document.
Manage Client Communication
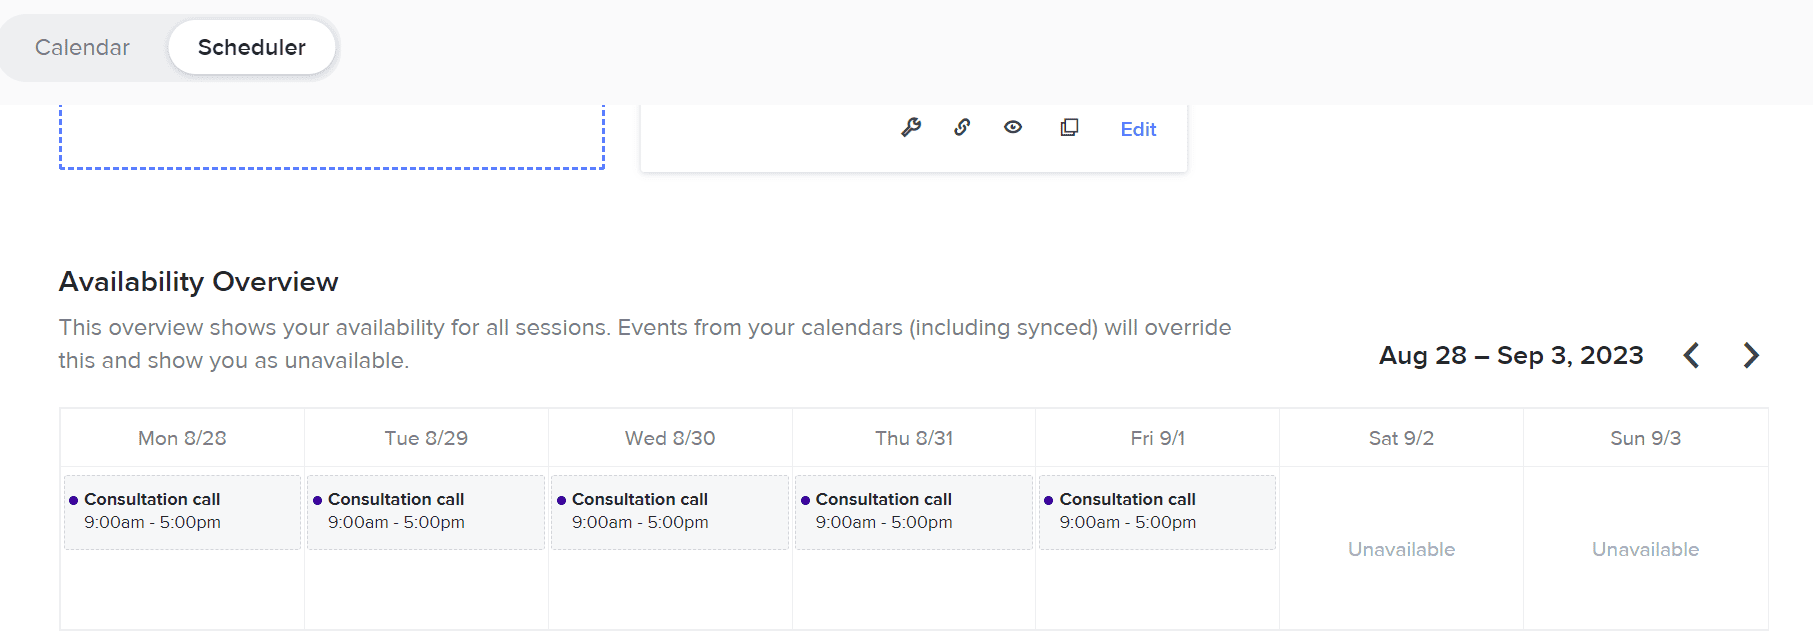
Use HoneyBook’s built-in communication system to send messages, set reminders, or schedule meetings with your clients. All interactions are saved under the specific project, ensuring you never lose track of important conversations.
Also you can also categorize your communications by type (emails, calls, meetings) and status (pending, completed), which helps you stay organized and on top of your communication game.
Track the Progress of Your Projects
Monitor your project’s progress with HoneyBook’s dashboard. You can see an overview of all ongoing projects, their status, and upcoming tasks or deadlines.
Each project has its timeline, showing all the tasks, milestones, and deadlines. This visual representation helps you keep track of what’s been done and what’s next, ensuring you never miss a deadline.
Set Up Automations
Save time and ensure consistency by setting up automations for common processes, like onboarding a new client or using email templates. Create workflow templates using HoneyBook’s automation features.
These workflows can include automatic emails, task reminders, and more. Automating these processes reduces manual work and ensures you provide a consistent service to all your clients. For more ideas on automations, check out our article on how to automate your business!
Review Your Business Performance
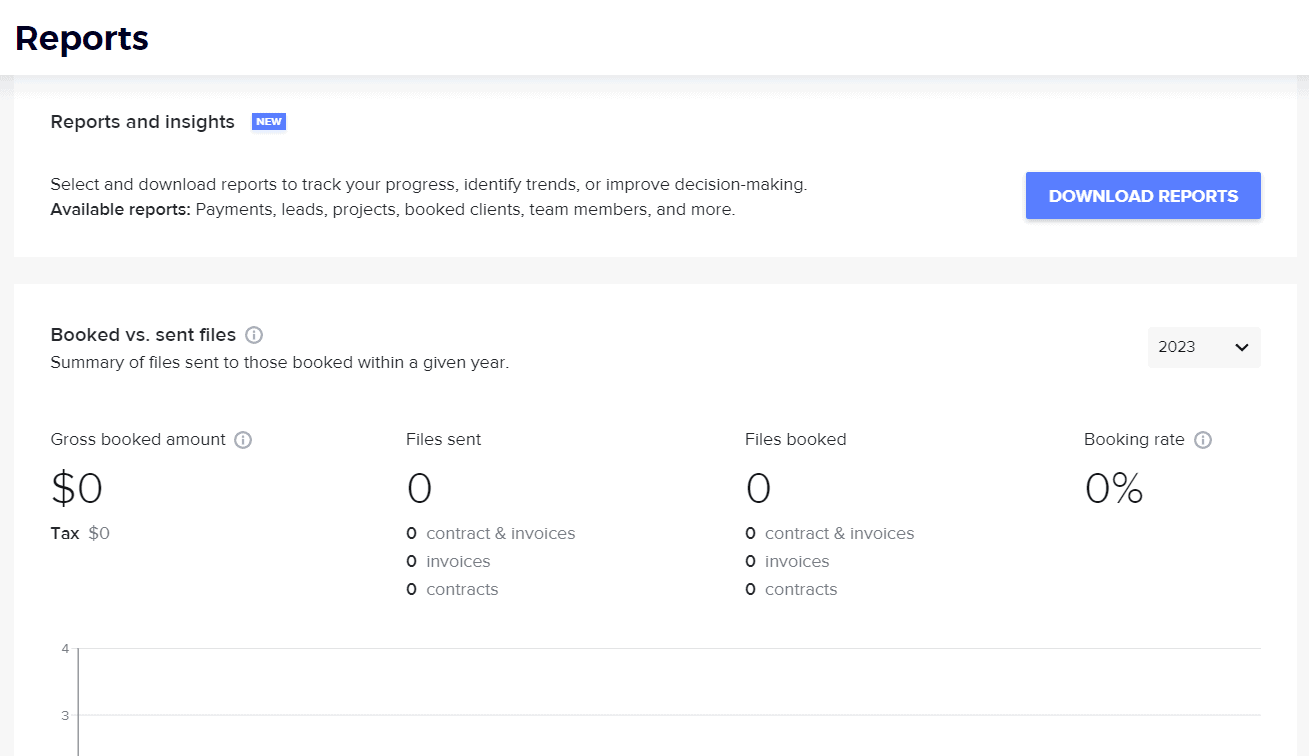
Finally, use HoneyBook’s reporting tools to review your business performance. This will provide valuable insights into your revenue, productivity, and areas for improvement. You can generate various reports, such as income reports, booking reports, and activity reports. These insights can help you identify trends, understand your business’s strengths and weaknesses, and make informed decisions for future growth.
Now that you’re familiar with the initial steps in using HoneyBook, you’re well on your way to managing your business more efficiently. Below, we’ll cover how to manage communication with clients within HoneyBook and make the most of its other features. Stay tuned!
Best Tips for How to Get the Most Out of HoneyBook
While the steps outlined above guide you through the initial stages of using HoneyBook, it’s important to keep a few key things in mind. One crucial aspect is developing your services and establishing pricing. With HoneyBook, you can create visually appealing pricing guides that clients can view and select from.
Also, consider perfecting your client journey by creating workflows and automations. You can start by downloading the HoneyBook Chrome extension for effortless setting up. These tools let you automate parts of your process, saving you time and ensuring consistency across all projects.
Taking it to the Next Level: How to Enhance Your Client Relationship Manager
To take your client management to the next level, consider implementing a comprehensive client onboarding process. An effective onboarding process is essential for starting your projects successfully, and HoneyBook can guide clients through service selection, payment terms, and expectations.
Additionally, focus on scheduling and running successful client meetings. A structured approach to meetings can significantly enhance your client relationships and project outcomes. This is why it is dubbed one of the best client management software.
Alternatives to HoneyBook
While HoneyBook offers comprehensive features for business management, other alternatives might better suit your needs. Tools like Dubsado and HubSpot provide similar features, including project management, client onboarding, and invoicing. However, they each have their unique strengths.
For instance, Dubsado excels at customization and personalization, while HubSpot is a more comprehensive solution for bigger businesses. Thus, it’s worth exploring these alternatives to find the one that best fits your business needs.
Final Thoughts on My Experience With HoneyBook
In conclusion, HoneyBook is a robust business management tool that can revolutionize the way you manage your projects, interact with clients, and handle payments. I hope this tutorial has walked you through some of the initial steps of getting started with HoneyBook, from setting up your account to creating projects and sending invoices.
My personal experience with HoneyBook has been nothing short of amazing. As a creative entrepreneur, I’ve found that it’s streamlined my processes and improved client communication, which has both saved me time and reduced stress. The organized interface and automation features have allowed me to focus more on my craft and less on administrative tasks.
I believe that by following this guide and embracing HoneyBook, you too, can experience the benefits of efficient business management. So why not give it a try? For more, sign up for HoneyBook or read my review on why I love HoneyBook!

