A Zoom recording is like a time capsule, preserving the essence of your meeting for future use. It's a knowledge repository you can tap into whenever needed, ensuring that valuable information is never lost.
Recording your Zoom meetings isn't just a handy feature – it's a strategic advantage. Whether you're capturing a brainstorming session, a client presentation, or a training webinar, having a recording allows you to maximize the value of your time and effort.
This comprehensive guide will walk you through recording a Zoom meeting step-by-step. We'll cover everything from enabling recording settings to managing your recordings so you can confidently capture and leverage the full potential of your Zoom interactions.
What are Zoom Meeting Recordings?
When you record a Zoom meeting, you capture the audio, video, and screen-sharing activity that occurs during the session. Depending on your preferences and settings, this file can be saved locally on your iPhone or Android device or on the cloud. This functionality is essential for creating archives of your discussions, which can be reviewed later or shared with others who couldn't attend the live session.
There are two main types of Zoom recordings:
- Local recordings: These are saved directly to your computer's hard drive. They're great if you prefer to have complete control over your recordings but might require more storage space.
- Cloud recordings: These are stored securely in the Zoom cloud. They're convenient for sharing and accessing from anywhere, especially if you're working with a remote team.
Importance in Modern Business Communication
In today's digital age, the ability to record meetings and revisit them later is invaluable. It ensures that every insight and decision is documented, aiding compliance, training, and knowledge sharing.
For business leaders, this means decisions are transparent, and information is democratized, making it easier to maintain continuity in projects and strategies even as team members change.
Why You Should Know How to Record Zoom Meetings
Recording your Zoom meetings offers several advantages that can significantly enhance your team's productivity and cohesion:
- Boost Productivity & Follow-Up: Ever leave a meeting feeling you missed something important? A recording tab lets you revisit key points, ensuring everyone is on the same page and eliminating confusion.
- Include Absent Team Members: We all have those days when something unexpected comes up. With a recording, team members who couldn't attend can easily catch up and stay in the loop.
- Streamline Training & Onboarding: New hires have a lot to learn. Recordings of past meetings and training sessions can accelerate their onboarding process and set them up for success.
- Create Valuable Content: Repurpose your Zoom recordings into engaging marketing materials, training videos, or internal knowledge-sharing resources.
- Never Miss a Detail: Sometimes, the most valuable insights come when you least expect them. A recording ensures that even the most minor details are captured so nothing slips through the cracks.
How to Record a Zoom Meeting: A Step-by-Step Guide
Ready to hit 'record' and unlock a world of possibilities for Zoom meetings? Let's break down the process into simple, manageable steps.
Step 1: Ensure You Have the Necessary Permissions

Before you start recording meetings, it's important to double-check a few things to ensure that everything is set up correctly.
Take a moment to review your Zoom account settings. Ensure the recording feature is enabled and you have the appropriate recording permissions to record meetings.
Zoom offers different recording options depending on your plan. Free plans may have limitations, such as local recording only. Consider upgrading your plan if you need cloud recording or other advanced features.
Local recording saves the meeting video to your computer, while cloud recording stores it securely in Zoom. Cloud recording is often preferred for its accessibility and ease of sharing, but it's essential to understand the differences and choose the option that best suits your needs.
Step 2: Start or Join Your Zoom Meeting
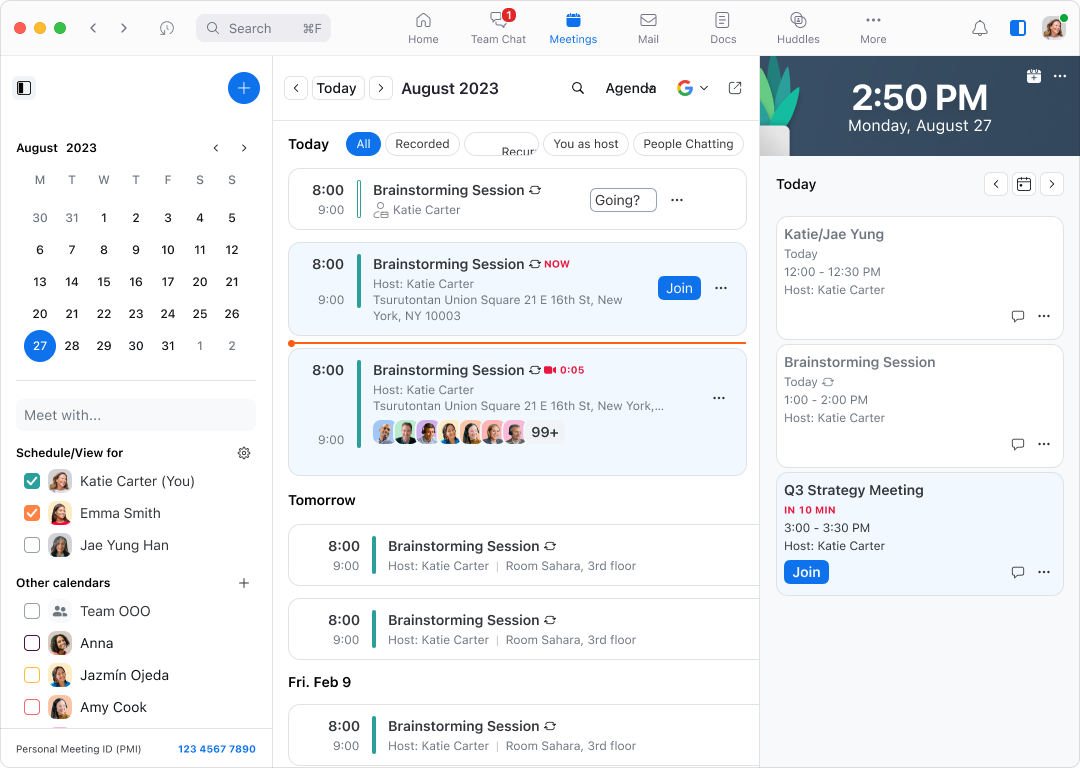
Now that you've confirmed your permissions, it's time to start the meeting. Open the Zoom app or Zoom web portal on your computer or mobile device. Make sure you're signed in to your account.
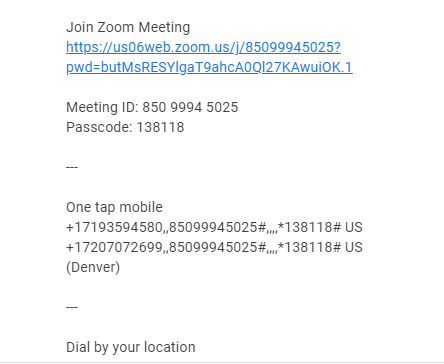
If you're the host, create a new meeting or start a scheduled one. If you're a participant, simply join the meeting using the provided link or meeting ID.
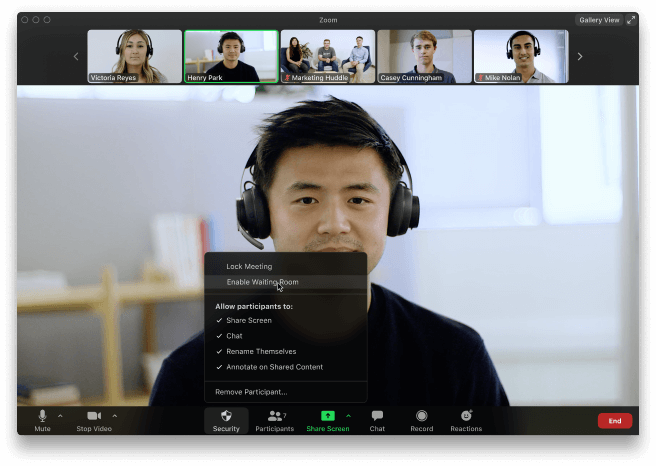
Take a quick look at the meeting controls located at the bottom of your Zoom window. You'll find the "Record" button and other essential tools for managing your meeting.
Once you're in the meeting and comfortable with the controls, you'll be ready to hit that record button and start capturing your valuable discussions.
Step 3: Initiate the Zoom Meeting Recording
With your meeting in full swing, it's time to start capturing the conversation.
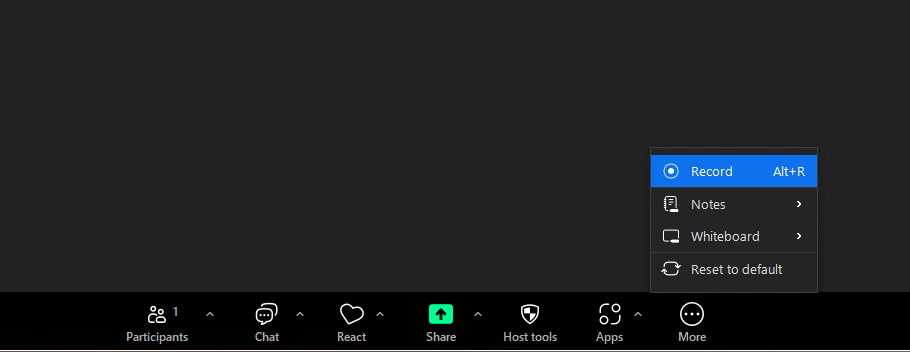
Look for the "Record" button in the meeting controls at the bottom of your Zoom window. It's usually represented by a red circle icon.
If your Zoom plan allows it, you'll be prompted to choose between local or cloud recording. Select the option that best fits your needs.
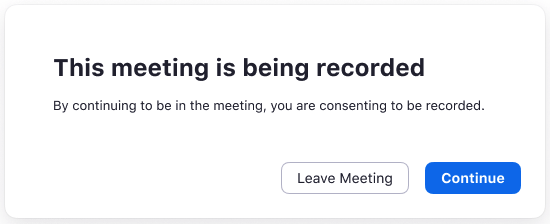
Letting everyone in the meeting know that the session is being recorded is essential. This ensures transparency and allows participants to adjust their contributions accordingly. Zoom will typically display a notification to all attendees when recording starts, but it's also good practice to verbally announce it.
Step 4: Manage Your Recording
While the recording is running, there are a few things you can do to ensure you capture the most relevant content.
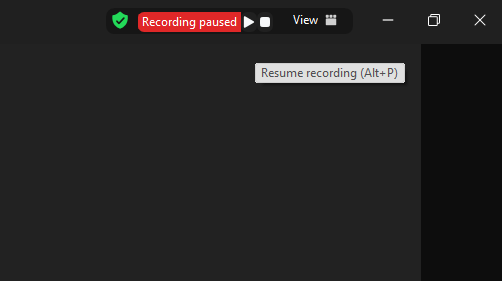
You can temporarily pause the recording if there are any breaks or off-topic discussions during the meeting. This helps keep your final recording concise and focused. Click the "Pause" button in the meeting controls and "Resume" when you're ready to start recording again.
Depending on the nature of your meeting, switch between the active speaker view (which focuses on the person currently speaking) and the gallery view (which shows all participants). This allows you to capture different perspectives and dynamics during the meeting.
Keep an eye on the recording indicator, usually a red dot or flashing red border around your Zoom window. This serves as a visual reminder that the recording is in progress.
Step 5: Stop the Recording
When your meeting is wrapping up, it's time to end the recording. Once the meeting has concluded, locate the "Stop Recording" button in the meeting controls and click it. This will end the recording process.
Depending on the length of your meeting and your recording settings, Zoom may take a few moments to process and finalize the recording file. Be patient and wait for the process to complete before attempting to access or share the recording.
Once the recording has been processed, you'll be ready to access and use it. In our final step, we'll guide you through locating and sharing your recording.
Step 6: Access and Share Your Recording
Now that you've successfully recorded Zoom meetings, it's time to locate and share the file with your team.
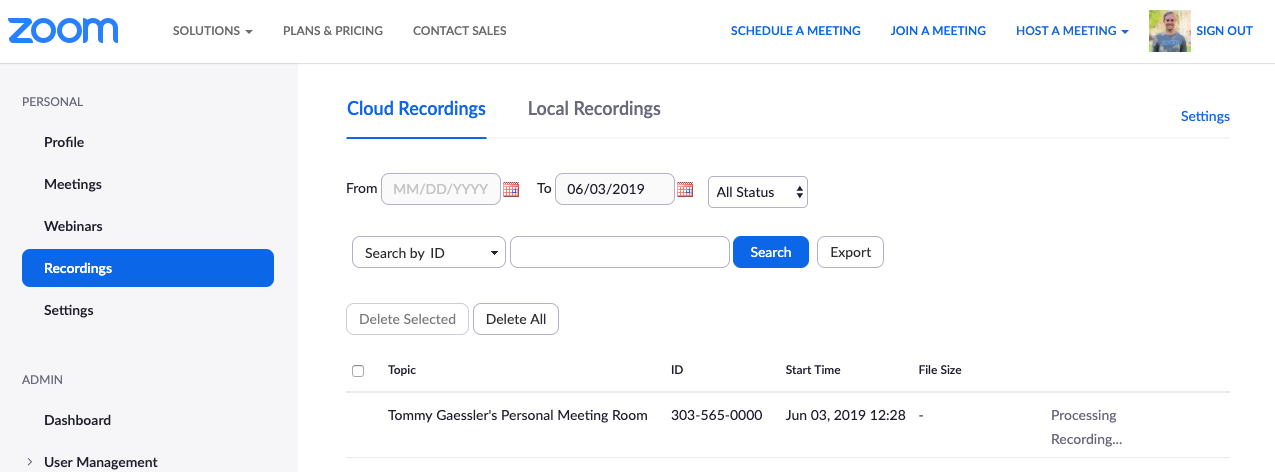
If you choose local recording, the video file will be saved to your computer in the designated folder. If you opted for cloud recording, you can access it through your Zoom account's cloud storage. You can use video editing software to trim unnecessary parts or add annotations to your recording.
Share the recording with the appropriate team members once you're happy with the final product. You can send them a direct link (if using cloud recording) or upload the file to a shared drive or collaboration platform.
And that's it! By following these simple steps, you can easily record your Zoom meetings and leverage the power of video to enhance communication, collaboration, and productivity within your team.
Key Considerations for Successfully Recording Zoom Meetings
Recording your meetings is just the start. A few key factors must be remembered to ensure a seamless experience and maximize your recordings.
Let's explore some best practices for optimizing quality, managing storage, and respecting privacy.
Optimizing Audio and Video Quality
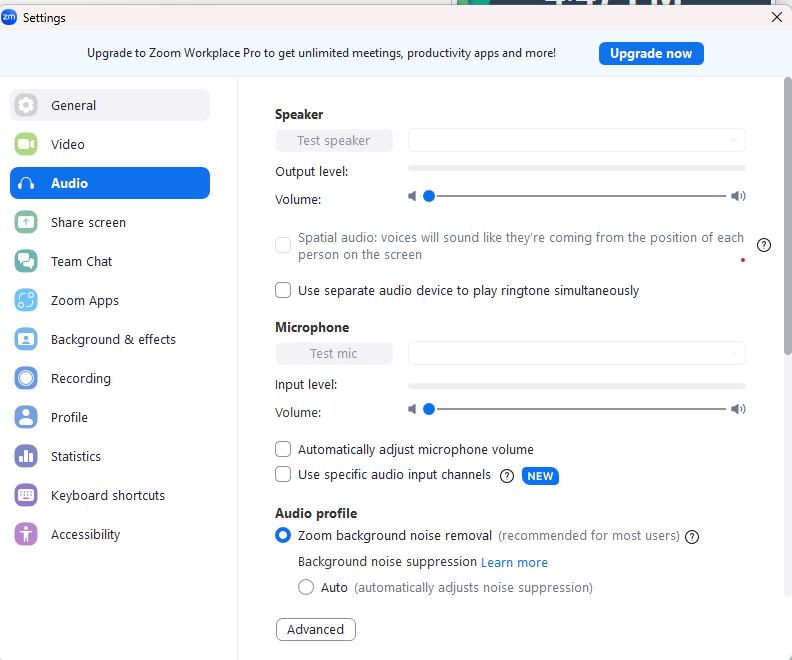
Invest in a decent microphone and webcam to ensure clear audio and sharp video. This will make your recordings more professional and easier to understand.
A strong and reliable internet connection is crucial for smooth recording and playback. Avoid any interruptions or lag that can disrupt the flow of your meeting.
Find a quiet space to host your meetings and minimize any background noise that might interfere with the audio. Also, try eliminating visual distractions that might distract attention from the meeting content.
Managing Storage and Organization
Develop a consistent naming convention and folder structure for your recordings. This will make locating specific meetings easier and keeping your files organized.
To prevent your recordings from piling up and consuming valuable storage space, periodically review them and delete any that are no longer needed.
If you frequently record long meetings or have limited local storage, cloud storage solutions like Dropbox or Google Drive can provide a convenient and accessible way to store and share your recordings.
Addressing Privacy and Consent
Create a transparent policy outlining when and how meetings will be recorded. Communicate this policy to all team members and ensure they understand it.
Always get explicit consent from all meeting participants before you start recording. This respects their privacy and avoids any potential legal issues.
Familiarize yourself with relevant privacy laws or regulations regarding recording and storing personal data in your region. Make sure your recording practices comply with these requirements.
Considering these key points, you can ensure that your Zoom recordings are high-quality, well-organized, and respectful of privacy concerns. Effective communication is vital to successful collaboration, and recording your meetings can be valuable in achieving that goal.
Taking it to the Next Level: Advanced Zoom Recording Techniques
Once you've mastered the basics of Zoom recording, you might be ready to explore some advanced techniques that can further enhance your meeting productivity and content creation.
Leveraging Third-Party Recording Tools
While Zoom's built-in recording features are robust, there are also third-party tools that can offer even more capabilities. If you need features beyond what Zoom provides, explore third-party recording applications that integrate seamlessly with Zoom.
These tools might offer:
- Enhanced editing capabilities: Trim, merge, and annotate your recordings more precisely.
- Automatic transcription and captioning: Convert your audio into text for easy searchability and accessibility.
- Integration with project management and collaboration tools: Streamline your workflow by automatically sending recordings to your preferred platforms.
Creating Engaging Content from Your Recordings
Your Zoom recordings are a goldmine of valuable content. Don't just let them sit idle!
- Use recordings for webinars and online courses: Repurpose your meetings into informative webinars or online courses to share knowledge and expertise with a wider audience.
- Extract key moments for social media content: Create short, engaging clips from your recordings to share on social media and promote your brand or thought leadership.
- Transcribe recordings for easy reference and accessibility: Make your recordings accessible to everyone by providing transcripts that can be easily read and searched.
Alternatives to Zoom for Meeting Recording
While Zoom is a popular choice for video conferencing and recording, it's not the only option available.
If you're looking for alternatives or want to compare features, consider these other platforms that offer meeting recording capabilities:
- Microsoft Teams recording features: Explore how Microsoft Teams handles recording, including its cloud storage integration and transcription capabilities.
- Google Meet recording options: Explore Google Meet's recording features and compare them to Zoom's offerings.
- Comparison of other video conferencing platforms with recording capabilities: Research and compare other video conferencing platforms, evaluating their recording features, ease of use, and pricing to find the best fit for your needs.
Remember, the best tool for you will depend on your specific requirements and preferences. Take the time to explore different options and find the one that empowers you to record, share, and leverage your meetings most effectively.
Final Thoughts on Recording Zoom Meetings
Recording your Zoom meetings is a game-changer for business leaders. It empowers you to capture valuable insights, enhance collaboration, and create engaging content.
Whether you stick with Zoom's built-in tools or explore third-party options, the key is to leverage recordings strategically. By optimizing audio and video quality, managing storage effectively, and respecting privacy, you can unlock the full potential of this powerful feature.
So, hit that record button and watch your meetings transform into valuable assets for your team and your business.